Order Block in Forex: How to Spot and Trade a Valid One

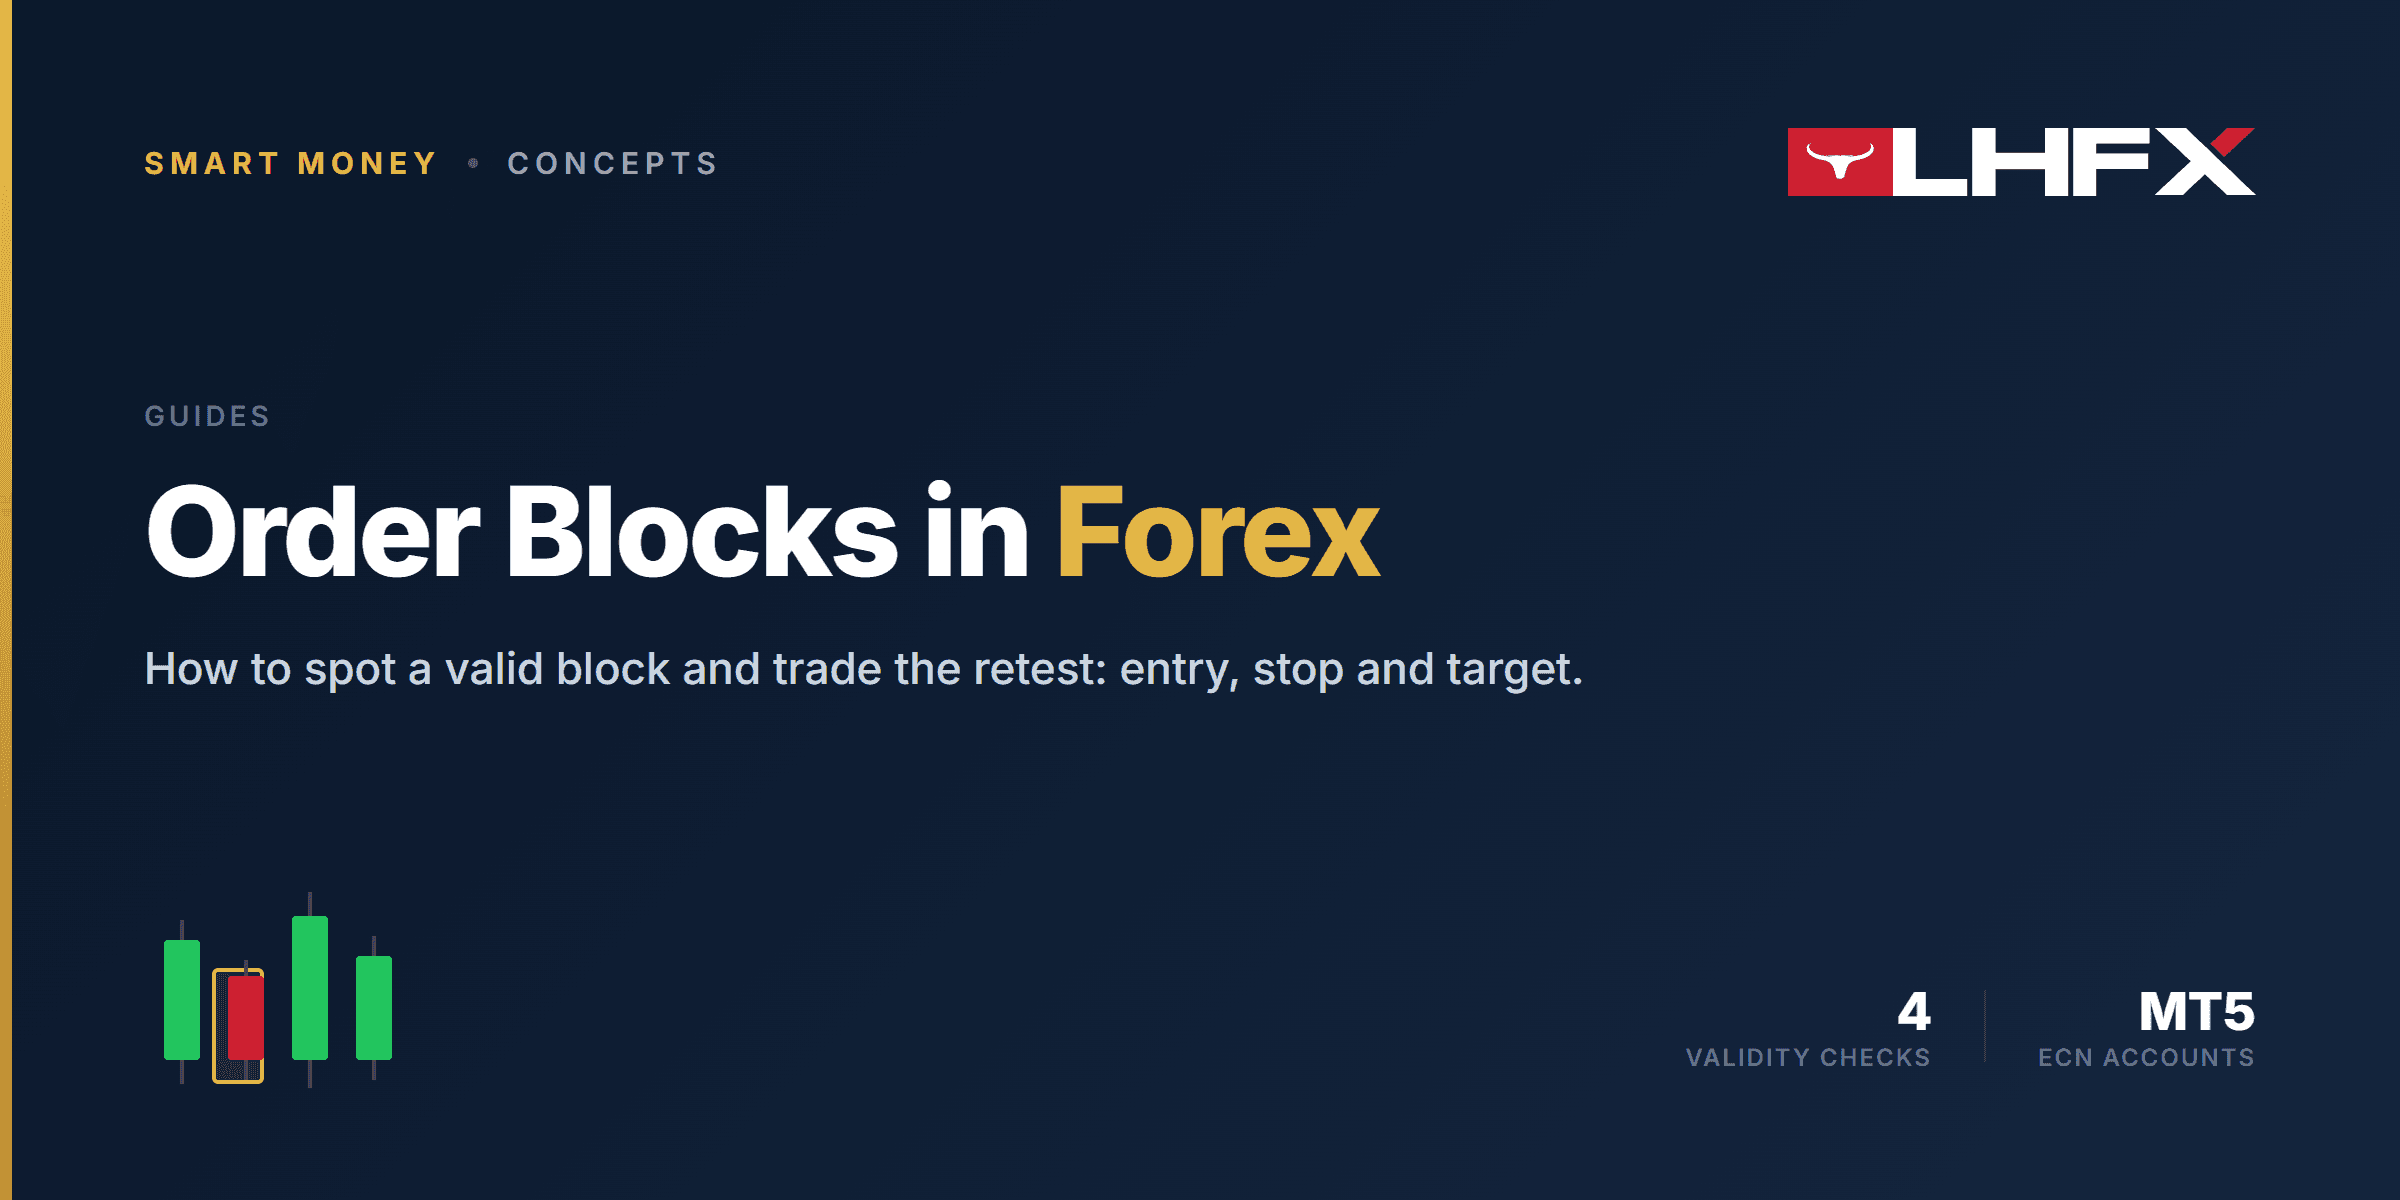
An order block in forex is the last opposite candle before a strong, impulsive move away from a price level. Put simply, it is the final down candle before price rallies, or the final up candle before price sells off. That candle marks the area where large orders were absorbed and the move began, which is why traders watch it as a zone price may respect if it returns.
TL;DR
- An order block is the last opposite candle before an impulsive move, marking where a sharp move began.
- A bullish order block is the last down candle before a rally, so it acts as a potential support zone.
- A bearish order block is the last up candle before a sell-off, so it acts as a potential resistance zone.
- A block earns the "valid" label only when it passes four checks: an impulsive move away from it, a break of structure, it is still unmitigated, and it aligns with the higher timeframe.
- You trade the retest, not the impulse. You wait for price to return to the block instead of chasing the move that created it.
- An order block is a probability zone, not a guarantee. Some hold and some fail, so entries always need a stop and defined risk.
What is an order block in forex?
The idea comes from smart money concepts, where the goal is to read where institutional-sized orders likely entered rather than to guess tops and bottoms. When a market makes a sharp, one-directional move, that move usually started from a specific candle. That candle is your order block. Price often revisits it later, and that revisit is where a trade setup can form.
Order blocks come in two forms. A bullish order block is the last down candle before price pushes higher, and you treat it as a demand zone where buyers stepped in. A bearish order block is the last up candle before price drops, and you treat it as a supply zone where sellers took control. In both cases the candle body and wick define the zone you mark on your chart.
Not every candle before a move counts. A block only becomes worth trading when it passes all four validity checks covered later in this guide. Skipping those checks is the most common reason a block that looked clean on the chart fails on the retest. The rest of this guide walks through how to spot a valid one, how to mark it, and how to build an entry, stop, and target around it.
Bullish vs bearish order blocks
Every order block is either bullish or bearish, and the rule is the same for both: you mark the last candle that goes against the move that follows.
A bullish order block is the last down (bearish) candle before a strong push up. You mark its range as a demand zone and watch for buys when price returns to it. A bearish order block is the last up (bullish) candle before a strong drop. You mark its range as a supply zone and watch for sells on a retest.
| Bullish order block | Bearish order block | |
|---|---|---|
| Candle you mark | Last down candle before the up move | Last up candle before the down move |
| Zone type | Demand (buy) | Supply (sell) |
| You watch for | Buys on a return | Sells on a return |
Here is where most people trip: you mark the opposing candle, not one in the direction of the move. A bullish order block is a red candle. A bearish order block is a green candle. The idea is that the big move usually starts with an engulfing candle that swallows that last opposite candle, so the origin candle is the footprint left behind.
One choice to settle early: some traders mark the candle body only, others include the wick. Body-only gives you a tighter zone and a smaller stop but more missed retests. Wick-included gives a wider, more forgiving zone. Pick one and stay consistent so your results mean something.
Direction matters most when it agrees with market structure. A bullish order block carries more weight when structure is already shifting up, not when you are fighting a clean downtrend.
How to identify a valid order block
Most "order blocks" people draw on a chart are just random candles they picked after the fact. A valid one has to earn the label. Run every candidate through the same checklist before you trust it, and drop anything that fails even one line.
The validity checklist:
- It started an impulsive move. A real order block is the last opposite-colored candle (or tight cluster) before price left in a hurry. If what followed was slow, choppy, or barely went anywhere, that zone is not where size got positioned. You want the origin of a sharp, one-directional leg, not a lazy drift.
- It caused a break of structure. The move out of the block has to break a recent swing high or swing low. No break of structure means no shift in who is in control, and a zone that did not change anything is not worth marking. This is the single filter that removes the most fake order blocks. For a bullish order block, price should take out the prior swing high on the way up; for a bearish one, it should take out the prior swing low on the way down.
- It is still unmitigated. Price has not returned to the zone yet. The first tap is where the setup lives. Once price has already traded back through the block and moved on, the resting interest is spent and a second visit means much less. Fresh zones over recycled ones, every time.
- It aligns with the higher timeframe. The zone should point the same way as the trend one or two timeframes up. A bullish order block on the 15-minute is worth far more when the 1-hour and 4-hour are also pushing up. A bullish zone sitting under a clean higher-timeframe downtrend is fighting the current, and those are the ones that fail. Map the higher timeframe direction first, then only hunt for order blocks that agree with it.
Pass all four and you have a valid order block. Fail one and you have a drawing.
How to mark it on the chart
Anchor the zone to the body-to-wick range of that last opposite candle. A common approach is to draw the rectangle from the open (or the body edge) to the extreme of the wick, then extend it forward in time so you can see price approach it. Keep it simple and stay consistent, because a zone you draw three different ways is a zone you cannot trust.
Give each block a quick label with its timeframe and bias, like "H1 bullish" or "M15 bearish." Label it so your chart stays readable once you have several marked. When you are tracking blocks across multiple timeframes at the same time, unlabeled boxes turn into noise fast, and noise is how you end up trading the wrong one.
How to trade the retest: entry, stop and target
Spotting a valid order block is only half the job. The trade is built on what price does when it comes back to that zone. Order blocks work as retest entries, not breakout entries, so you wait for price to return to the block rather than chasing the impulsive move that created it.
Here is the framework, broken into the three decisions you actually have to make.
Entry: wait for the retest
Mark the order block as a zone, from the open to the close of the origin candle (some traders use the wick, some the body). Then wait. You want price to trade back into that zone after the break of structure, not to enter the moment the block forms.
Two common ways to time it:
- Zone touch. Place a limit order at the edge of the block and let price come to you. Cleaner, but you get filled on every touch, including the ones that fail.
- Confirmation entry. Wait for price to tap the block and print a reaction on a lower timeframe, such as a shift in market structure or a smaller engulfing candle, then enter. Fewer fills, later entry, higher hit rate.
Neither is objectively better. The limit approach suits patient traders who trust their zones; the confirmation approach suits traders who would rather give up a few pips for evidence that the level is holding.
Stop: behind the block, not inside it
Your stop belongs on the far side of the order block, so it only gets hit if the level has genuinely failed.
- For a bullish order block, place the stop below the low of the block.
- For a bearish order block, place the stop above the high of the block.
Add a small buffer for spread and noise. Putting the stop inside the zone, or a couple of pips beyond it, is the fastest way to get wicked out of a trade that then runs without you. If the distance from entry to a sensible stop is too wide for your risk per trade, size down or skip it. Do not shrink the stop to fit the position.
Target: the next pool of liquidity
Your target is the next area price is likely to reach, not a round number you picked because it looks tidy. In practice that usually means:
- The nearest opposing order block or supply/demand zone.
- An obvious swing high or swing low where stops are resting.
- A prior high-timeframe level that price left unfinished.
This is where a defined risk-to-reward comes in. If the retest gives you a tight stop and the nearest liquidity pool sits well above entry, you have an asymmetric trade worth taking. If the reward barely covers the risk, the setup is not worth forcing, however clean the block looks.
Once price moves in your favour and clears the first area of interest, you have options. Some traders take partial profit and let a smaller position run toward the next target. Some traders like locking in breakeven runners by moving the stop to entry once price clears the first target, then trailing the rest. Both are valid. Pick the one that matches how you actually manage a trade under pressure, and be consistent about it.
Remember that no order block setup is a certainty. Valid zones fail, retests break, and losing trades are part of the process. Position sizing and a stop you respect are what keep a run of failed blocks from doing real damage to the account.
Worked examples on EUR/USD, GBP/USD and XAU/USD
These three walk-throughs are illustrative. They use real pair names but no specific prices, dates, or results, because the goal is to show the same process repeat, not to sell a signal. Run every one against the same checklist: an impulsive move, a break of structure, an unmitigated zone, and higher-timeframe alignment.
EUR/USD (bullish order block). Price drifts down and sweeps a prior swing low, tripping the stops resting below it. Then it reverses hard and rallies away, breaking the most recent lower high. The last down candle before that sharp rally is your bullish order block. You mark that candle's range, wait for price to trade back into it, and look for a buy on the retest. Your stop sits just under the zone, so if price closes through it the idea is wrong and you are out cheaply.
GBP/USD (bearish order block). Cable pushes up into an area that rejected price before. It stalls, then drops sharply and breaks the last higher low. The final up candle before that drop is the bearish order block. On the retest back into that zone, you look for a sell, with the stop just above the block. Same order block trading logic, mirrored.
XAU/USD (gold). Gold moves fast and wide, so its zones are larger and gaps between candles are common. The rules do not change, but the context does: give the stop more room so normal volatility does not knock you out, and confirm the setup on a higher timeframe first.
| Pair | Type | The order block candle | Entry idea |
|---|---|---|---|
| EUR/USD | Bullish order block | Last down candle before the rally | Buy the retest, stop below zone |
| GBP/USD | Bearish order block | Last up candle before the drop | Sell the retest, stop above zone |
| XAU/USD | Either | Same rule, wider zone | Same rule, more stop room |
Order blocks vs fair value gaps, breaker blocks and liquidity
Order blocks get lumped in with three other smart money ideas, and traders mix them up constantly. They are related, but each one marks a different thing on the chart. Knowing which is which keeps you from tagging every candle as an order block and calling it analysis.
Here is the plain-spoken breakdown.
Order block. The last opposing candle before an impulsive move that breaks structure. A bullish order block is the last down candle before price rips up and takes out a prior high. A bearish order block is the last up candle before price drops through a prior low. You trade the retest of that zone, not the candle in isolation. This is the smart money concept most people mean when they say "institutions left an order here."
Fair value gap. A three-candle imbalance where price moved so fast it skipped a level, leaving a gap between the first candle's wick and the third candle's wick. A fair value gap tells you where price moved inefficiently. An order block tells you what likely caused it. They often sit right next to each other, and an order block paired with a fair value gap inside the same zone is a stronger read than either alone.
Breaker block. A failed order block that flips sides. When a bullish order block gets broken and price closes below it, that same zone can act as resistance on the retest. The order that was meant to hold longs becomes the level shorts defend. A breaker block is essentially an order block that lost its first fight, so treat it as a separate signal with its own confirmation.
Liquidity. The fuel, not the zone. Liquidity sits above old highs and below old lows where stop orders cluster. Price often runs that liquidity first, then reverses from an order block. If you understand where stops are resting, you understand why an order block gets tapped in the first place. The two ideas work together: liquidity explains the sweep, the order block explains the reversal. For the full breakdown, see our guide to liquidity in forex.
Quick way to keep them straight:
- Order block is a zone you enter from.
- Fair value gap is an imbalance that supports the zone.
- Breaker block is an order block that failed and flipped.
- Liquidity is the reason price came back to any of them.
All four sit on top of market structure. Read the structure first, then label the zones. If you are still building the base layer, our guide on how to trade forex walks through the mechanics before you layer smart money concepts on top. Get the structure right and these tools sharpen your entries. Skip it and you are just drawing boxes on noise.
Common mistakes beginners make with order blocks
Most order block content shows you the winning setups and skips the part where people lose money. Here is where beginners actually go wrong.
Drawing an order block on every candle. The single most common error. A down candle before a rally is not automatically an order block. Without an impulsive move away from the zone and a clear break of structure, you are just marking a random candle and calling it institutional. No impulse plus no break of structure equals no valid order block.
Fighting the higher timeframe. A tidy block on the 5-minute means little if the 4-hour market structure is trending hard the other way. Beginners buy bullish blocks inside a daily downtrend and wonder why price slices through. The block should agree with the dominant direction, not oppose it.
Trading mitigated zones. Once price has already returned to a block and reacted, the resting orders are largely filled. Expecting a fresh, clean bounce from a used zone is a losing habit. Fresh, unmitigated blocks are the ones worth watching.
Choking the stop. On gold especially, jamming a tight stop inside a volatile zone gets you wicked out right before the move you called. Size the stop to the zone and the instrument, then let position sizing handle the rest. Risk management is the setup, not an afterthought.
Forcing it in a range. No clean impulsive leg means no block. In choppy, directionless price, the honest answer is often that no valid setup exists. Skipping the trade is a decision too.
Practise order block setups on MT5 with LHFX
Reading order blocks on a chart is one thing. Trusting one enough to place a live order is another. The gap between the two closes with reps, and the fastest way to get reps is to mark blocks in real time and watch how price actually behaves when it returns.
LHFX runs on MetaTrader 5, so you get the tools that make this practical:
- Rectangle and horizontal-line tools to mark the order block zone and its 50% level, then leave them on the chart as price develops.
- Multiple timeframes side by side, so you can confirm higher-timeframe alignment on the H4 or Daily before you act on the M15 retest.
- Alerts at the edge of a zone, so you are not glued to the screen waiting for a mitigation that may take hours.
- Forex and CFDs in one place, including EUR/USD, GBP/USD and XAU/USD, the three markets used as illustrative examples above.
Work through the validity checklist on live charts first. Mark the impulsive move, confirm the break of structure, check the block is still unmitigated, and only then wait for the retest. Do it enough times without money on the line and the valid setups start to look obviously different from the ones you were forcing.
When a setup does pass the checklist, LHFX gives you ECN account execution to act on it. Deposits go through crypto or card, and you can size positions to a risk level you are comfortable losing, because every order block eventually fails and your stop is the part of the plan that keeps you trading.
New to the mechanics of placing and managing a trade? Start with our guide on how to trade forex, then bring the order block checklist back to the chart.
Frequently asked questions
What does an order block mean in forex?
It refers to the specific candle or price zone where a strong move originated. In practice, you mark the last opposing candle before price broke market structure, then treat that zone as a potential area of interest if price trades back into it. It is a way of labelling supply and demand, not a guaranteed signal.
Are order blocks real, and do they work?
Order blocks are a charting concept, not a data feed of anyone's actual orders. You cannot see institutional order flow on a retail chart, so the block is your interpretation of where a move began. An order block is not a cannot-lose signal: whether it works depends entirely on context, confluence, and risk management. Plenty of marked order blocks fail, which is why validity checks and a defined stop matter more than the label itself.
What is the difference between an order block and a supply and demand zone?
They overlap heavily. A supply or demand zone is usually drawn around a base of consolidation before a move. An order block is stricter: it points to a single origin candle before a move that also breaks structure. If you already trade supply and demand, think of an order block as a more specific, structure-based version of the same idea.
What timeframe is best for order blocks?
There is no single correct timeframe. Many traders identify the bias and key zones on a higher timeframe, then drop to a lower timeframe to time the retest entry. The key is alignment: a lower-timeframe order block that agrees with the higher-timeframe direction tends to be cleaner to trade than one that fights it.
How is an order block different from a fair value gap?
A fair value gap is an imbalance left behind when price moves so fast that a range of prices is skipped, shown as a gap between candle wicks. An order block is the origin candle of the move. They often appear together, and a retest that fills a fair value gap into an order block can add confluence, but they describe two different things. If you are new to both, start with the basics of how to trade forex before layering these concepts in.